A good result is often not quite a usable one. The crop is too tight, the file is too small for print, the light does not match the rest of a set, or the clip ends a second too early. Tools fix these small problems. Each tool does one job on a file you upload, and each one runs through the same studio flow as the models.
Work in the right order
- Fix the content: relight or restyle first, because these change how the image looks.
- Fix the frame: expand the canvas if you need a different shape or more space around the subject.
- Clean up: remove the background if the image is going into a store or a layout.
- Upscale last: make the final file larger and sharper once nothing else will change.
Upscaling last matters. If you upscale first and expand later, the new area will be at the old size and the two parts will not match.
Upscale
Upscale image makes a picture larger with sharper detail, at 2x or 4x. Use it before print, before a tight crop, or for a full width banner. Upscale video does the same for clips you made at a draft size.
Expand
Expand image adds new picture around the edges, matching what is already there. It is the quickest way to turn a square image into a wide banner or a tall story without cropping the subject. Pick the new shape, and describe what should fill the new space if you have something in mind.
Relight
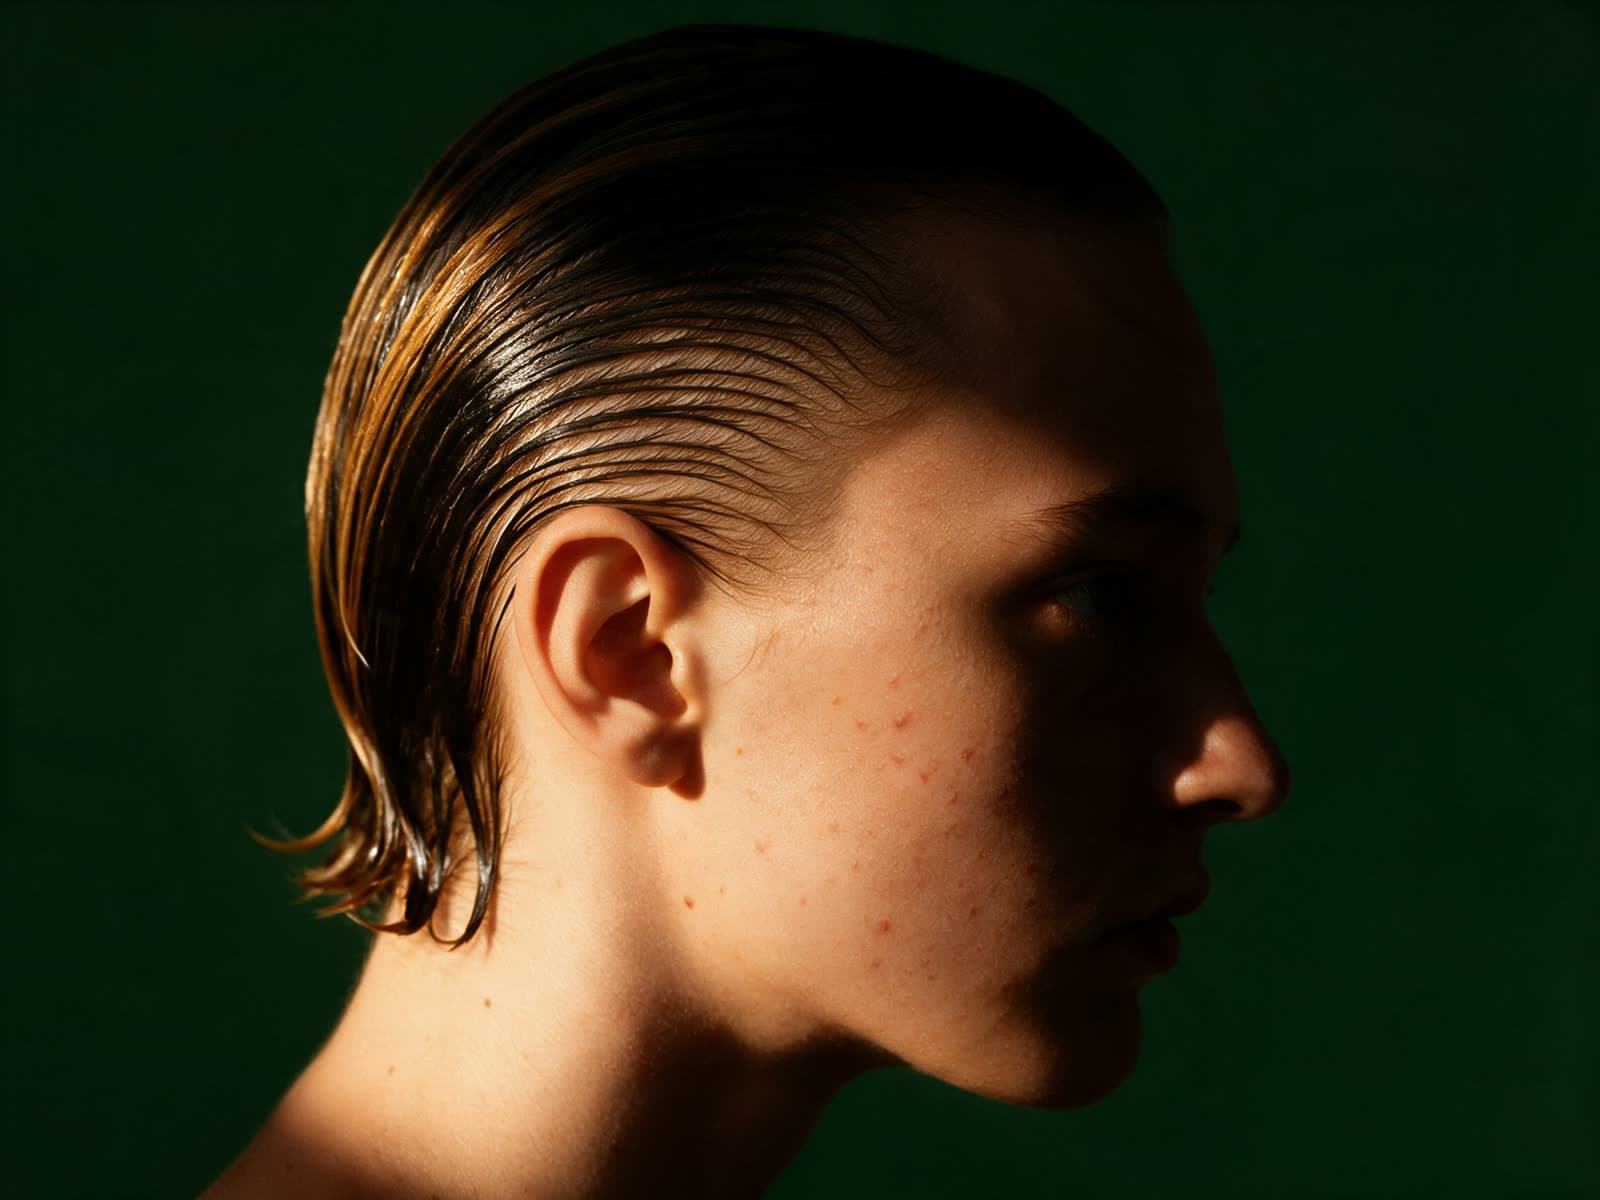
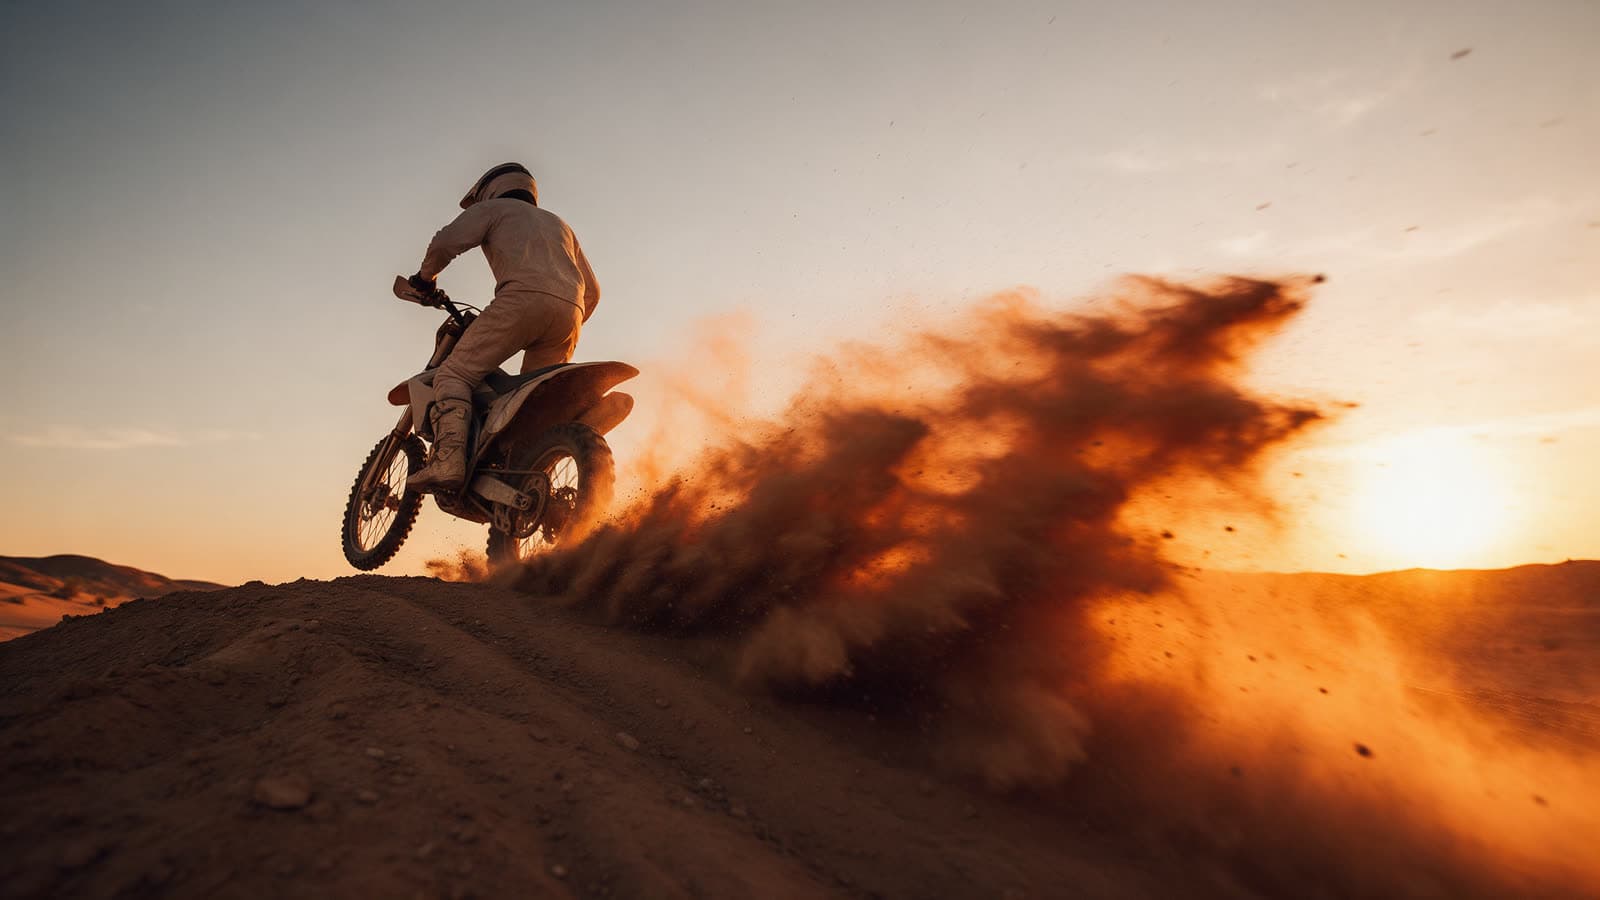
Relight changes the light on an image while the subject stays the same. Describe the light you want: warm side light, cool window light, hard sun from above. It is useful for matching a set of images that were made separately, or for turning a flat result into something with depth.
Warm hard light from the left, deep shadow on the right
Remove background
Remove background cuts out the subject and returns it on a clean, plain background. Use it for store listings, collages and thumbnails, where a busy background would distract from the subject.
Video tools
- Extend clip continues a clip for more seconds, following the motion that is already there.
- Restyle video changes the look of a clip, such as from live action to a drawn style, while the movement stays.
- Talking avatar turns a portrait and a line you type into a speaking clip. Only use a face you have the rights to use, and never without the person's consent.
What tools cost
Image tools are priced per run. Video tools are priced per second, like video models. Each tool page shows its cost and a before and after sample, and the studio shows the cost before you run it. If a tool run fails, the credits go back to your balance.
A good rule: only finish what you will use. Explore with the models, pick the one result that works, and spend tool runs on that file alone. Your library keeps every version, so you can always go back to the original if a tool run takes the image somewhere you did not want.